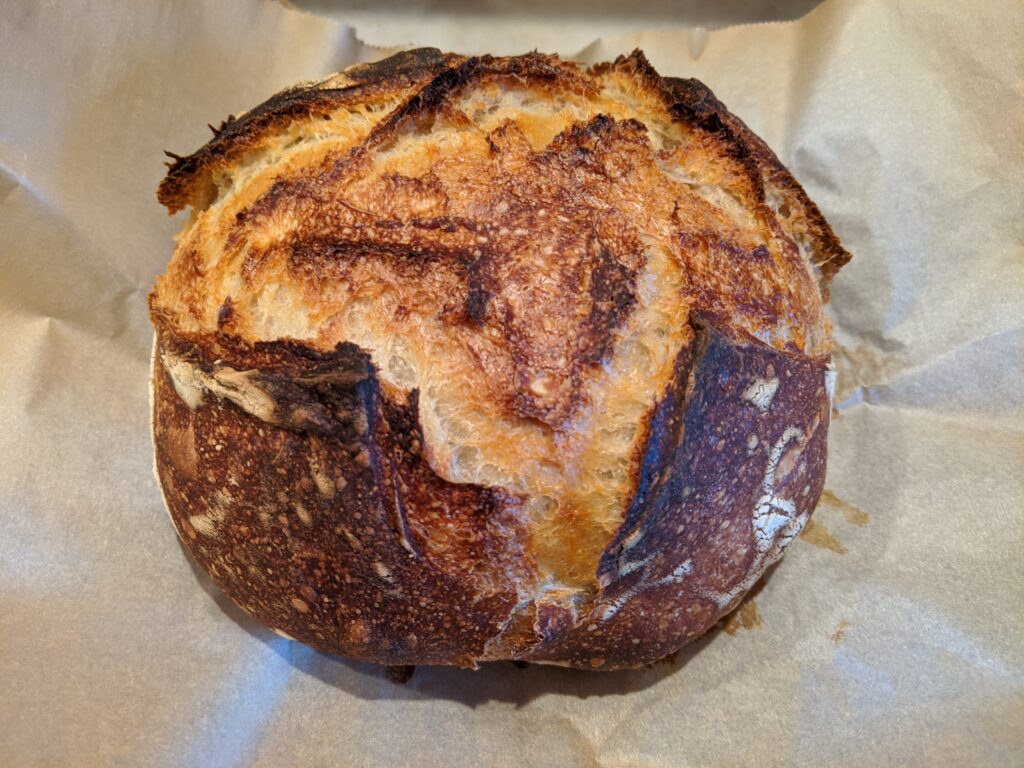
I’ve adapted the recipe taken from The Perfect Loaf. I’ll outline the modifications I performed for my bake.
Adaptations (details in the recipe below)
- I adjusted the original recipe to make a single loaf, with a final weight of 651 grams. It’s about the size and density of a typical loaf of sourdough you’d get at the market.
- Instead of a levain build, I use an active sourdough starter, I’ve adjusted the ingredients list and baker’s percentages to account for the starter.
- Instead of 3.5 hours for bulk fermentation, I gave the dough 4 hours to ferment.
- I lowered the salt content down to 7 grams.
Terms & vocabulary
You’ll see these terms in various recipes and I’ll follow the vernacular:
- Autolyse – “An autolyse is the gentle mixing of the flour and water in a bread recipe, followed by a 20 to 60 minute rest period. After the rest, the remaining ingredients are added and kneading begins.” (King Arthur Flour)
- Bulk Fermentation – First rise or primary fermentation (King Arthur Flour)
- Proofing – Retarding or slowing down the rise of the dough
- Hydration – Ratio of water to flour, by adjusting the amount of water to flour in a recipe, you can adjust the crumb structure, flavor, and texture of your bread
Ingredients
- Flour (all purpose): 407 grams
- Water: 294 grams
- Sourdough starter: 85 grams
- Sea salt: 7 grams
Baker’s percentages
- Flour (all purpose): 100%
- Water: 72%
- Sourdough starter: 20%
- Sea Salt: 1.7%
Timeline
This recipe will take two days. The key here is to have an active starter by 5pm, when you start on the first day. It helps tremendously if you can perform all steps at 70 – 75*F and use room temperature water. This will help make the yeast more active and cause better fermentation.
Day 0
Get your sourdough starter ready. Remove from the fridge and feed up to twice a day. I gave mine two days (with two feedings a day) before it was ready to be used on the first day.
Day 1
8AM/9AM: Feed your starter as you normally would. I usually feed mine in the following ratio:
- 1 part starter
- 1 part flour
- 1 part room temperature water
By 5PM, your starter should have doubled in volume so you can perform the autolyse (mixing step).
5PM: Mix flour, water, starter together:
- Flour: 407 grams
- Water: 200 grams
- Starter: 85 grams
Mix everything together with your hands until the flour and water are incorporated. See step two’s photos here (ignore his recipe’s dough mix ingredients list). Let the dough rest for 20 minutes.
5:20PM: Mix in the salt and slowly add up to approximately 94 grams of the remaining water. Follow the original recipe’s step 3 notes about slowly adding water. The dough, “should be shaggy and loose”. I added approximately 40 – 50 grams to my dough. The dough’s ability to hold water will depend on the type of flour you’re using!
5:30PM – 9:30PM Start 4 hour bulk fermentation. Follow the original recipe but perform the bulk fermentation for 4 hours. At the end of the 4 hours, your dough should have increased in volume.
9:30PM Shape the dough. Follow the original recipe.
9:45PM – 7AM Proof the dough. Follow the original recipe. I don’t have a proofing basket, so I placed my dough into a wooden salad bowl and covered the top of the bowl with plastic wrap, then draped a hand towel over the bowl to help keep the plastic insulated a bit.
Day 2
7AM Pre-heat, score, and bake. Pre-heat your oven per the original recipe. When the oven and your vessel is heated, pull your dough from the fridge to perform scoring. Go ahead and follow the original recipe.
I baked my bread for approximately 23 – 25 minutes covered, then removed the dutch oven cover and baked for approximately 15 – 20 minutes. The internal temperature of the loaf was 210* when I removed it from the oven. Keep an eye on the thermometer!
When done baking, remove the bread from the vessel and parchment paper and let it rest for two hours on a cooling rack.